





Your phone case is already on display every time you text, mirror selfie, scroll at brunch, or toss it on the table. So if you’re wondering how to customize phone case with stickers, the goal is not just adding random decals and hoping for the best. You want a case that looks styled, intentional, and very you.
Sticker customization can make a basic case feel personal fast, but the difference between cute and cluttered comes down to placement, texture, and finish. A good sticker layout turns your phone into an accessory. A bad one peels at the corners, collects lint, and starts looking tired after a week. Here’s how to get the look right.
How to customize phone case with stickers without making it look messy
The first move is picking the right base. Clear cases are the easiest because they let the stickers take center stage, and they work especially well if you want that layered collage feel. Solid-color cases can also work, but the background color matters more. A bright sticker mix on a neon base can look chaotic, while a clean black, white, or pastel case gives your design more room to breathe.
Material matters too. Hard plastic cases usually hold stickers better than ultra-soft silicone because the surface is smoother and less flexible. On silicone, some stickers lift faster, especially around curved edges. If your case has a heavily textured finish, expect less staying power and a less polished result.
Before you place anything, decide what kind of vibe you actually want. This is where most people go off track. They buy ten stickers they like individually, then realize they do not work together once they hit the case. A better approach is picking one direction first. Maybe it’s Y2K with chrome details and smiley icons. Maybe it’s soft florals and dreamy colors. Maybe it’s cosmic, abstract, or bold graphic prints. Your phone case should feel curated, not crowded.
Pick a sticker style that matches your aesthetic
If you love outfit coordination, treat your phone case like part of your look. Glossy stickers feel louder and more playful. Matte stickers read cleaner and more elevated. Holographic accents can be amazing, but only if they are used with some restraint. If every sticker is shiny, nothing stands out.
Color palette is the easiest way to make a sticker case look expensive instead of random. Stick to two or three main colors, then add one accent shade if you want contrast. That could mean pink, red, and white with a touch of silver, or black and cream with one electric pop of lime. Even a chaotic collage starts looking intentional when the colors speak the same language.
Start with layout before you peel anything
This is the step that saves your case. Place the stickers on the case without removing the backing first. Try a few arrangements. Snap a quick photo of each version so you can compare them instead of guessing in real time.
There are a few layouts that usually work. A corner cluster gives you a cleaner fashion-editorial look and leaves more negative space. An all-over collage feels expressive and trend-forward, especially on clear cases. A centered design can look strong if you are using one statement sticker and a few smaller supporting ones. What works best depends on the size of your stickers and how much of the case you want covered.
Pay attention to the camera cutout. It is the biggest design interruption on the case, so use it wisely. You can frame it with smaller stickers, but don’t crowd it so much that the whole layout feels squeezed. Also think about where your fingers naturally rest. Stickers placed in high-contact areas tend to wear faster.
Leave space on purpose
Not every inch needs decoration. Negative space is what makes the design feel styled instead of accidental. If the entire case is packed edge to edge with mismatched shapes, the result can start looking more like a sticker bin than a finished accessory.
If you want the collage effect, overlap lightly rather than stacking thick layers. Too much overlap can create raised edges that catch on pockets and bags. It also makes the case feel bulky, which is not ideal if you actually use your phone all day instead of just photographing it.
Clean the case first or the stickers will not last
This part is not glamorous, but it matters. Wipe the case down with a soft cloth and a little rubbing alcohol or gentle soap and water, depending on the material. Let it dry completely before applying anything. Oils from your hands, lotion, and dust can keep adhesive from bonding well.
If you’re reusing a case that had old stickers on it, remove leftover residue first. Any sticky buildup underneath the new layout will show through and make the final result look rough. A fresh surface gives you the best shot at smooth edges and a longer-lasting hold.
Apply stickers slowly for a cleaner finish
Once your layout feels right, peel and place one sticker at a time. Start from one edge and smooth it down with your finger so you push out air as you go. If you slap the whole sticker down at once, you’re more likely to trap bubbles or place it crooked.
If a sticker lands slightly off, fix it carefully and fast. Repeated peeling can weaken the adhesive or stretch the sticker, especially if it is thin. This is another reason to test the arrangement first instead of improvising halfway through.
For smaller stickers, tweezers can help with precision. For larger stickers, press from the center outward. It sounds minor, but these tiny details are what make a DIY sticker case look polished enough to pass for something custom-made.
Should you seal your stickers?
It depends on the case and how long you want the design to last. If your stickers are tucked under a clear outer case, you may not need any sealant at all. That setup gives you protection without changing the look or texture too much. It’s also the easiest option if you like switching designs often.
If the stickers are exposed on the outside of the case, sealing can help, but it comes with trade-offs. Some sealants add shine, which can be great if you want a glossy finish, but others can yellow over time or feel tacky if they are not meant for phone accessories. A badly chosen top coat can also dull holographic details or make the case look cloudy.
The cleaner alternative is using high-quality vinyl stickers on a smooth case and accepting that some wear is normal. If you change your aesthetic often, that is not a downside. It just means your phone case evolves with your mood.
Make it stylish and practical
A custom case still has to function like a case. Avoid placing thick stickers near charging ports, side buttons, or corners that absorb impact. If the stickers interfere with grip or make the case wobble when it’s placed down, the design needs editing.
This is where style and protection have to work together. The best phone accessories do both. They catch attention, but they also survive real life - coffee runs, commutes, drops, and the inside of an overstuffed tote. If you want a more elevated starting point, begin with a fashion-forward protective case and then add a few well-placed stickers instead of trying to build the whole look from scratch. That usually creates a more refined result, and it holds up better.
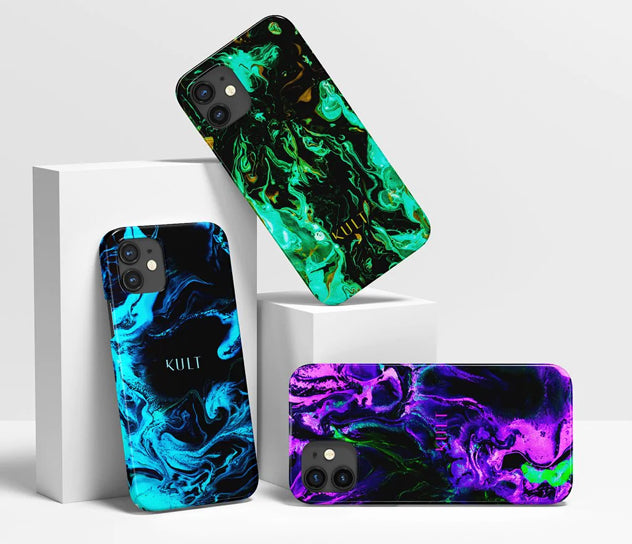
For anyone who loves a bolder finish, pairing stickers with an already eye-catching case can be the sweet spot. A strong print or clear structured base gives the design direction before the first sticker even goes on. That’s why style-led brands like KULT make customization feel less like a craft project and more like personal styling.
Common mistakes that ruin the look
The biggest mistake is using too many sticker styles at once. Cute, but chaotic. If you’re mixing illustration styles, colors, and finishes with no common thread, the case stops looking intentional.
Another issue is ignoring scale. If every sticker is the same size, the layout can look flat. Mixing one larger focal sticker with smaller fillers creates movement and balance. The last common mistake is rushing placement. A slightly crooked sticker might seem fine at first, then somehow become the only thing you can see every time you pick up your phone.
How to update your sticker case when your style changes
The best part of sticker customization is that it doesn’t have to be permanent. You can rotate looks with the season, your wardrobe, or your current obsession. Maybe summer calls for bright fruit graphics and punchy colors, while fall feels better with moody florals, deeper tones, or metallic accents.
If you like changing your setup often, keep a small collection of stickers sorted by aesthetic instead of using them all at once. That way, every new design still feels edited. Your phone case should reflect your style right now, not every phase you’ve ever had.
A good sticker case has personality, but it also has discipline. Pick a vibe, build the layout before you commit, and leave room for the design to breathe. When you get that balance right, your case stops looking like an afterthought and starts dressing the part.


